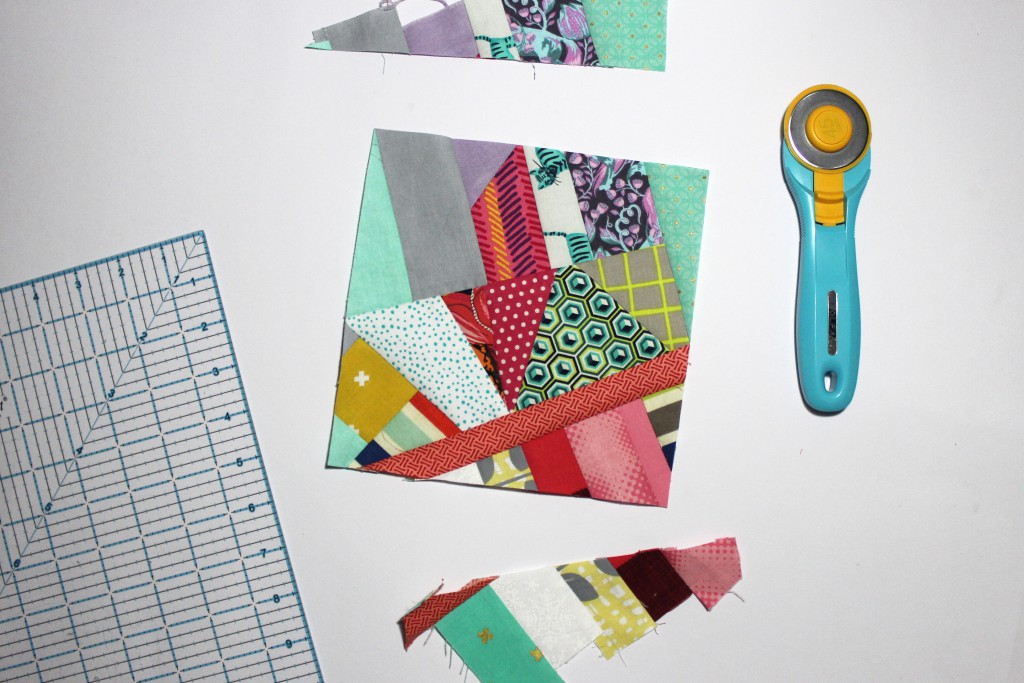
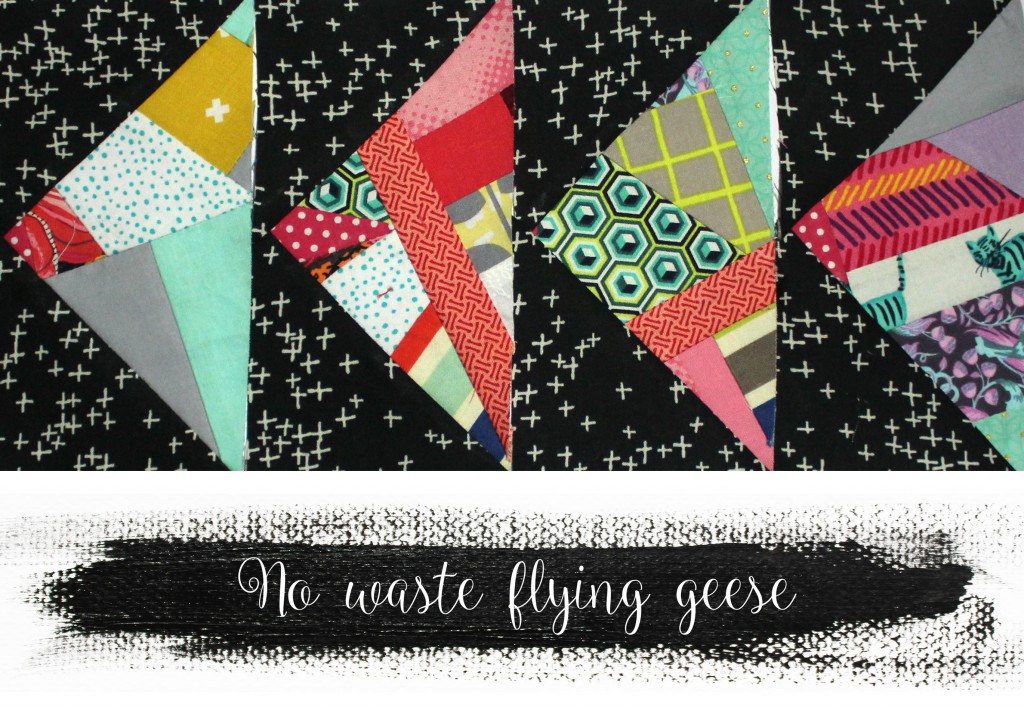
These are so cute, dontcha think? I’ve been playing with lots of flying geese this week in Project 48. I’m calling it, they are my favourite blocks… Feeling inspired by Victoria Findlay Wolfe’s 15 Minutes of Play, I made up fabric slabs to use as my ‘geese’ and used the no waste method to construct them. I really love the freedom of improvisation, it really is my favourite…
I’ve already made up at least a quarter of a new quilt; I finished up 8 sets (including the fabric slabs) in about four hours this afternoon. If you used the one fabric for the geese, imagine how quickly a whole quilt would come together… Too many ideas, not enough hours to make all the quilts!
Flying geese can be made in several ways – but the no waste flying geese tutorial makes four geese units at a time quickly and easily, with no fabric waste. You don’t need any special gadgets to make them up either, so that’s another bonus!
Warning these geese are addictive!
No waste flying geese tutorial
My geese are large (perfect for showing off the fabric slabs), but you can use the calculations to make any size. Just remember, flying geese are always twice as long as they are high and the calculations are based on the finished size.
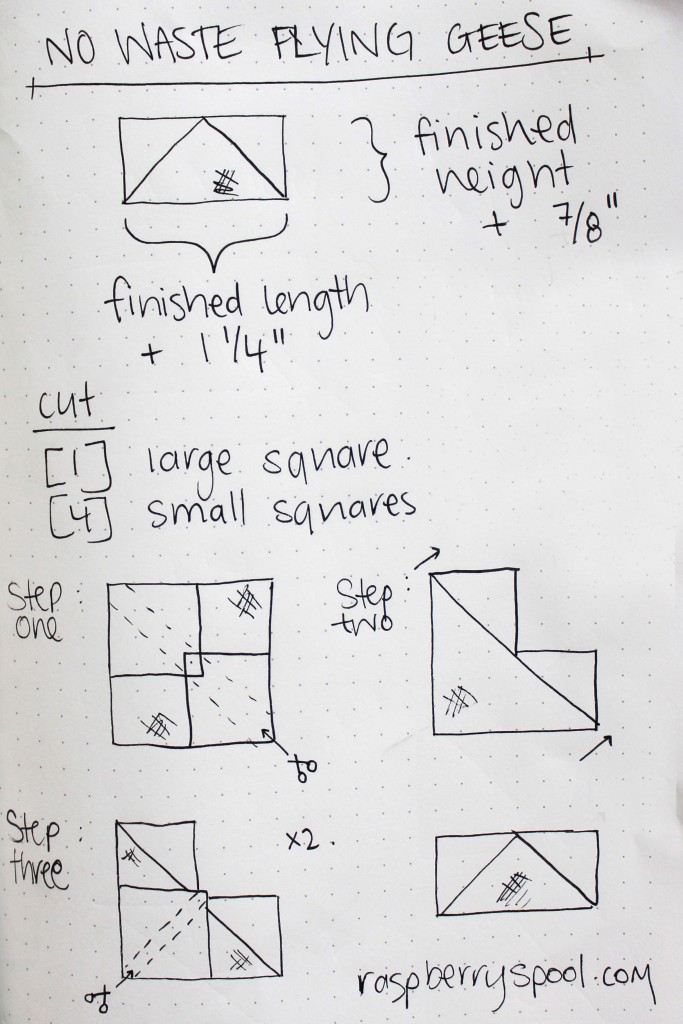
Fabric and cutting guide (makes four flying geese units)
[1] 7 1/4″ square (I used a handful of scraps to make fabric slabs and then trimmed to size)
[4] 3 7/8″ squares (I used a black and white printed fabric)
Instructions
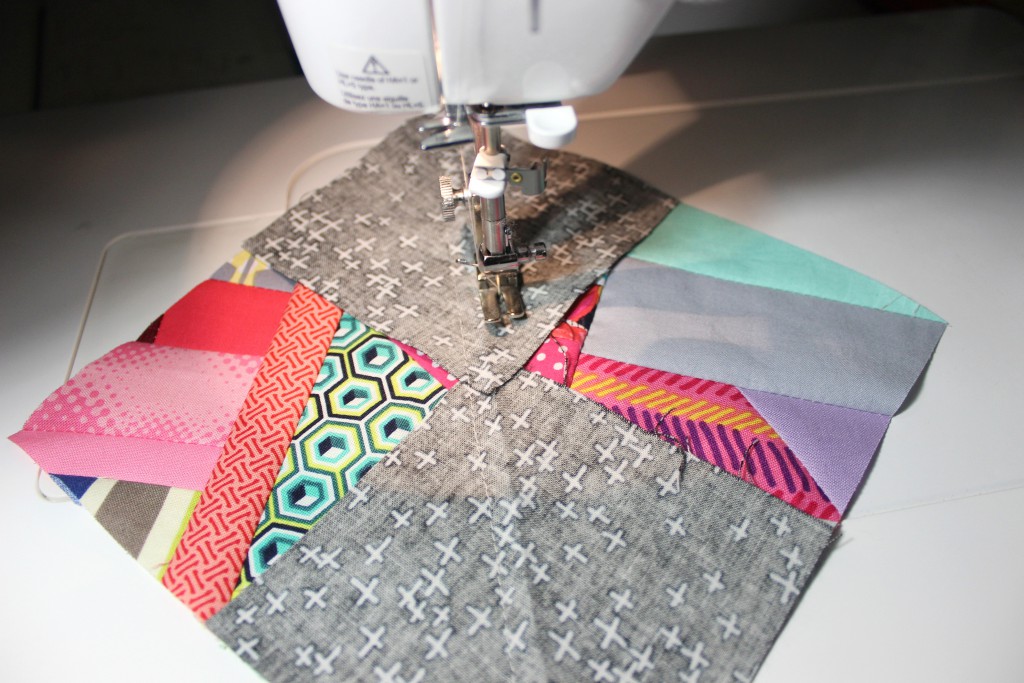
Step one
Draw a diagonal line on the wrong side of the small squares. Lay these down on opposite corners of the large square, overlapping them in the middle. Sew down a 1/4″ on either side of the diagonal lines. Slice through the middle, using the drawn lines as a guide.
Step two
Press the units, pressing the seams towards the triangles.
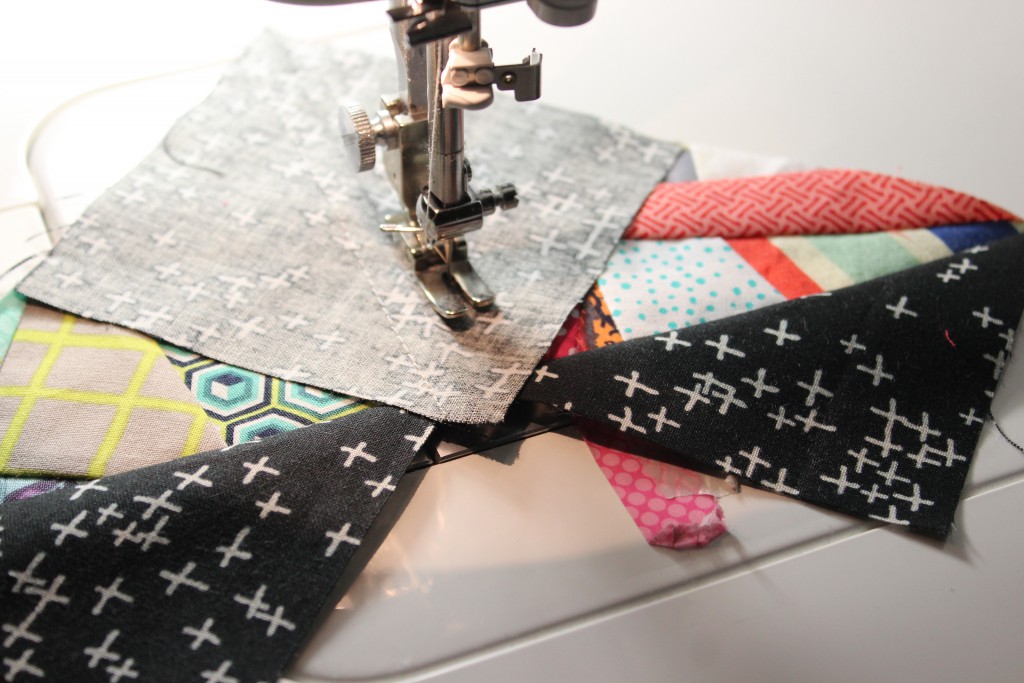
Step three
Lay a square down in middle of the unit (on the corner of the original square), overlapping them in the middle. Sew down a 1/4″ on either side of the diagonal lines. Slice through the middle, using the drawn lines as a guide. Repeat to complete all four geese units.
Step four
Press the units, pressing the seams towards the triangles.
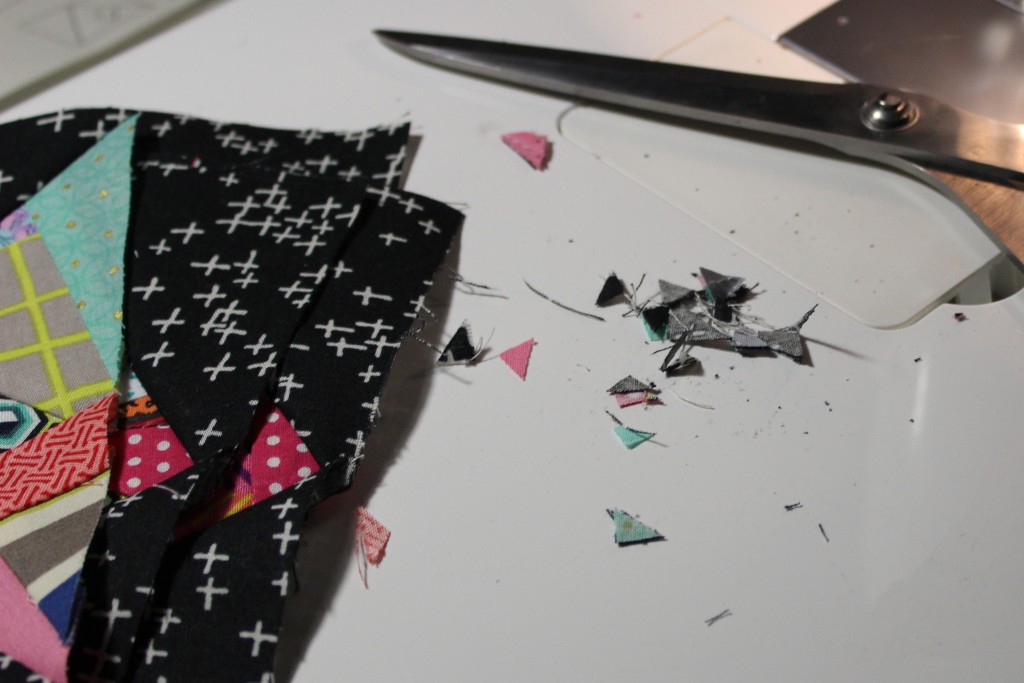
Step five: Snip the little corners off to trim up the block.
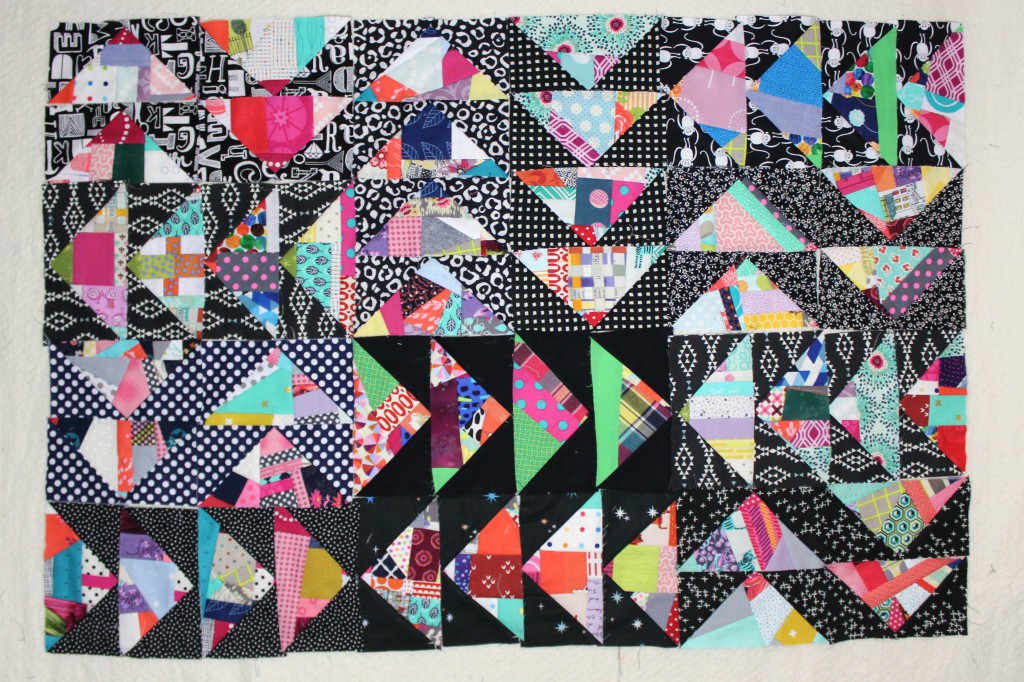
Love your fabric slabs and geese!
Thanks Sue – I can’t get enough of them 🙂
The fabric slabs with the black & white fabric look fantastic! Do you have a tutorial for making your fabric slabs?
Not yet – but keep your eye out as there will be one coming soon!
This is a fantastic idea! I have a lot of scraps that I stitch together and I’m going to have to give this a go. Thanks for sharing a great idea.
[…] of Raspberry Spool has a new take on No Waste Flying Geese. I have to give this one a try. It’ll help me get through those big bins of scraps I need […]
[…] during March. It is definitely dangerous working in a quilt shop! These prints will go into the no waste flying geese quilt I have been making. I really love black and white prints and will usually pick some up when I pop […]