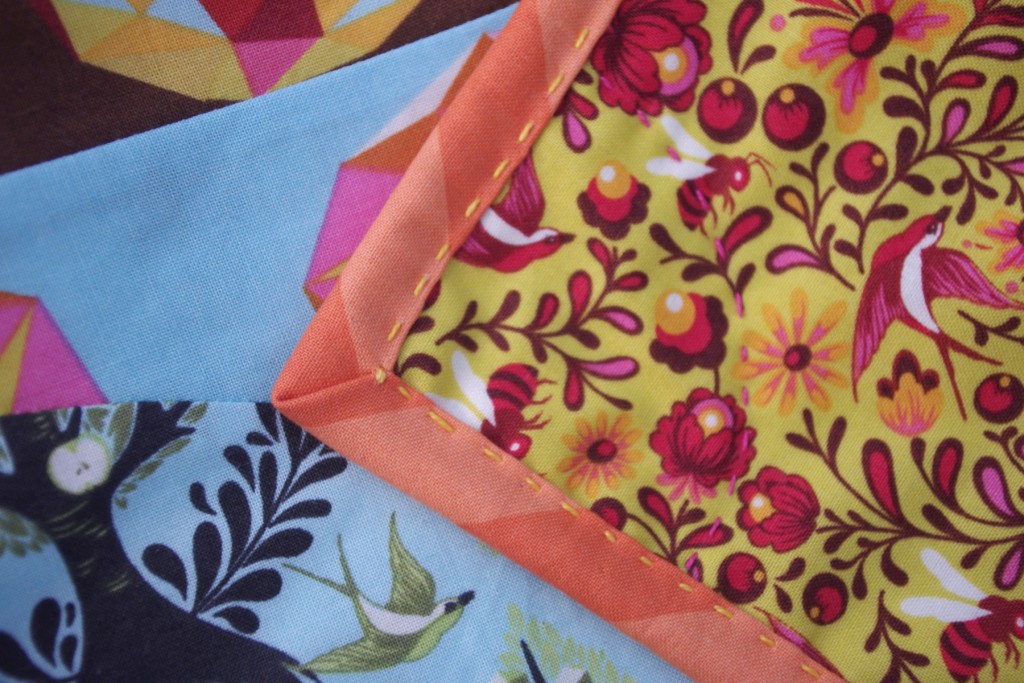
I absolutely love this way of finishing off the binding on a quilt. It gives it a lovely texture and as an added bonus, it is fast and easy! Follow this hand binding tutorial to complete your next quilt and maybe it might become your favourite binding technique too! Just a word of warning, I don’t use pins. At all. Ever.
Materials needed
- A finished quilt trimmed and squared, ready for binding
- Half a yard of fabric for your binding
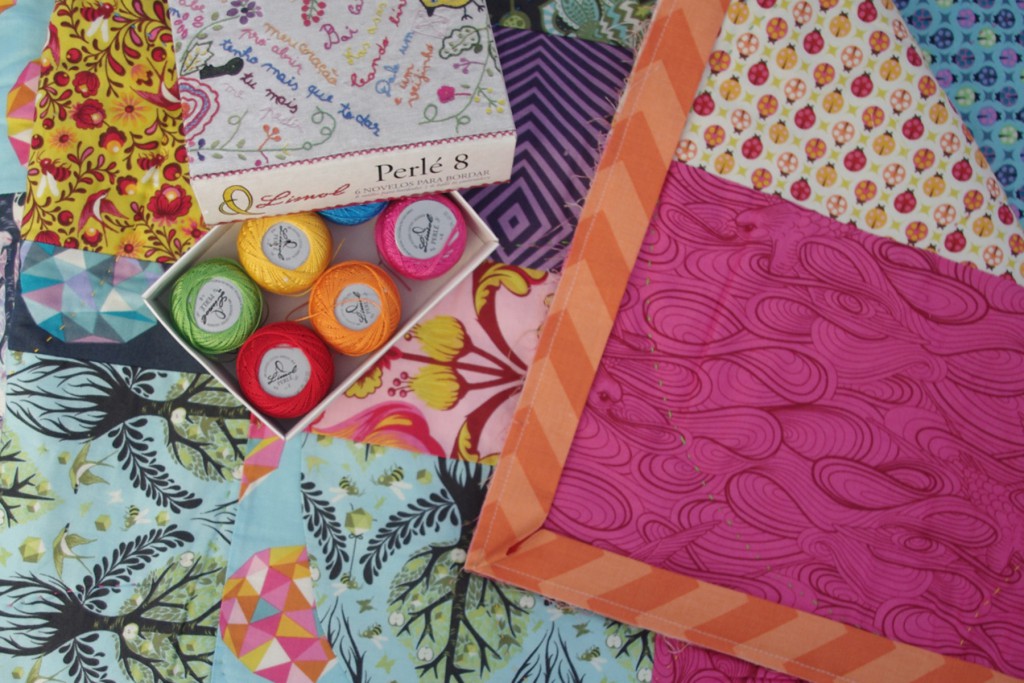
- Perle 8 thread
- Size 24 chenille needles*
- Binding clips
*I like Clover size 24 chenille needles the best. They are strong and sharp with a big eye, great for threading the perle 8 thread through.
 Instructions:
Step one
Measure the outside edges of your quilt to calculate the perimeter. Divide by 40 and cut this many 2 1/2″ strips from your fabric. You will need a little extra, so make sure there will be enough to overlap at the end. Sew your strips end to end and iron in half lengthways.
Step two
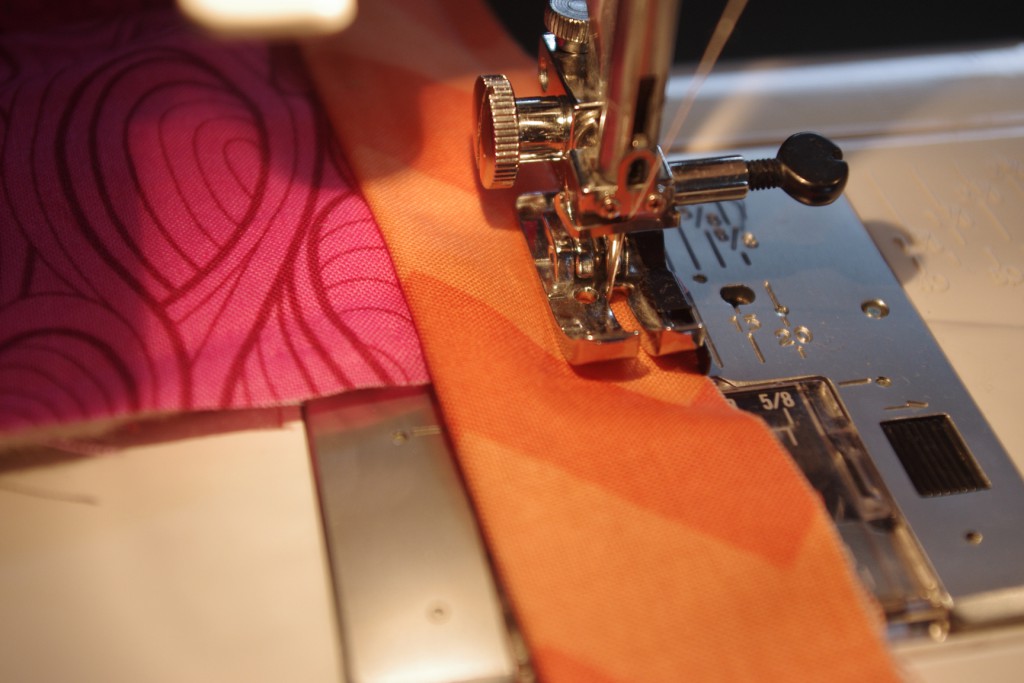
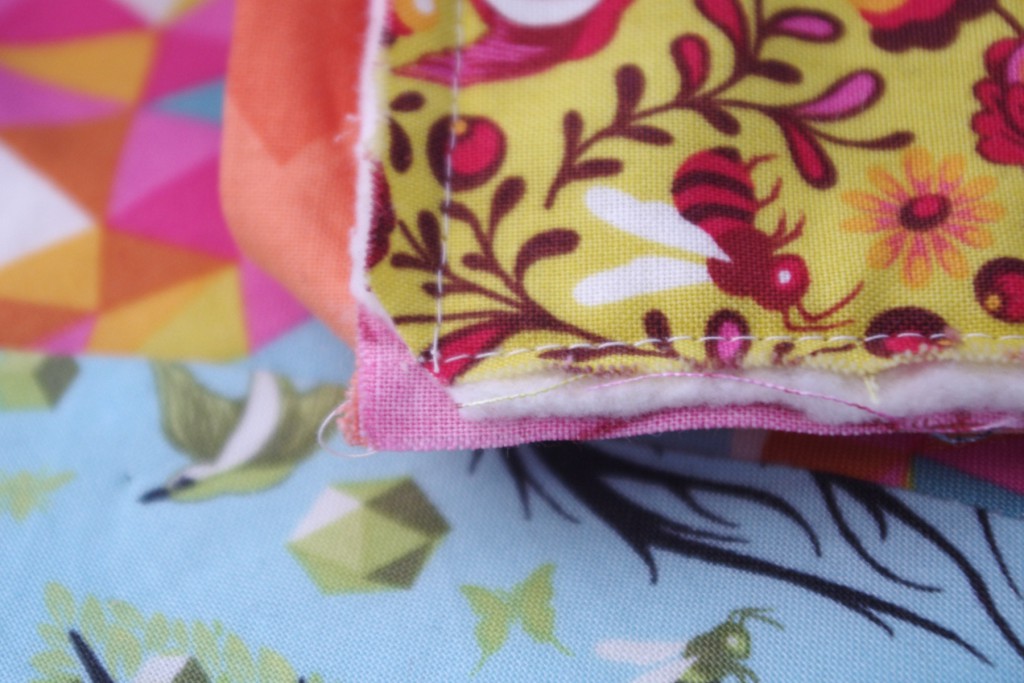
Starting in the middle of one side and leaving a 3″ tail, sew your binding down to the back of the quilt. Sewing your binding to the back means you can see those glorious stitches on the front of the quilt. I like to use a generous 1/4″ seam and my quarter inch foot. Stop sewing a (generous) 1/4″ from the edge. With the needle down, swivel the quilt around 90 degrees.
Step three
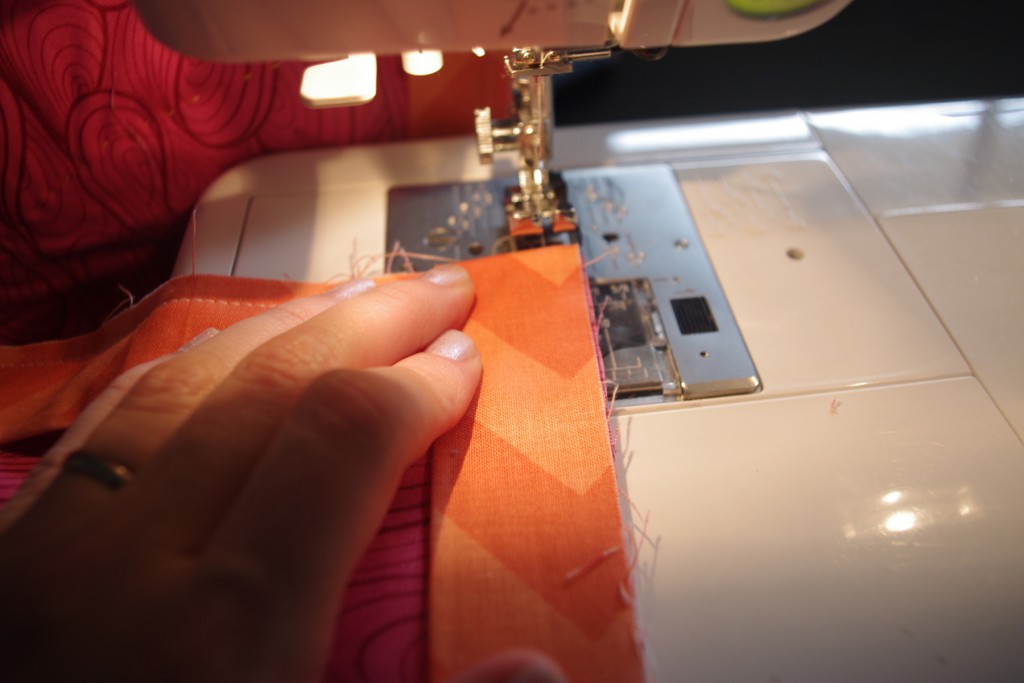
Lift your needle and fold the binding over on itself to make a neat, squared edge. Don’t cut the thread and continue sewing from this edge. Continue attaching the binding until you reach the first side and stop seeing about 12″ from the start.
Step four
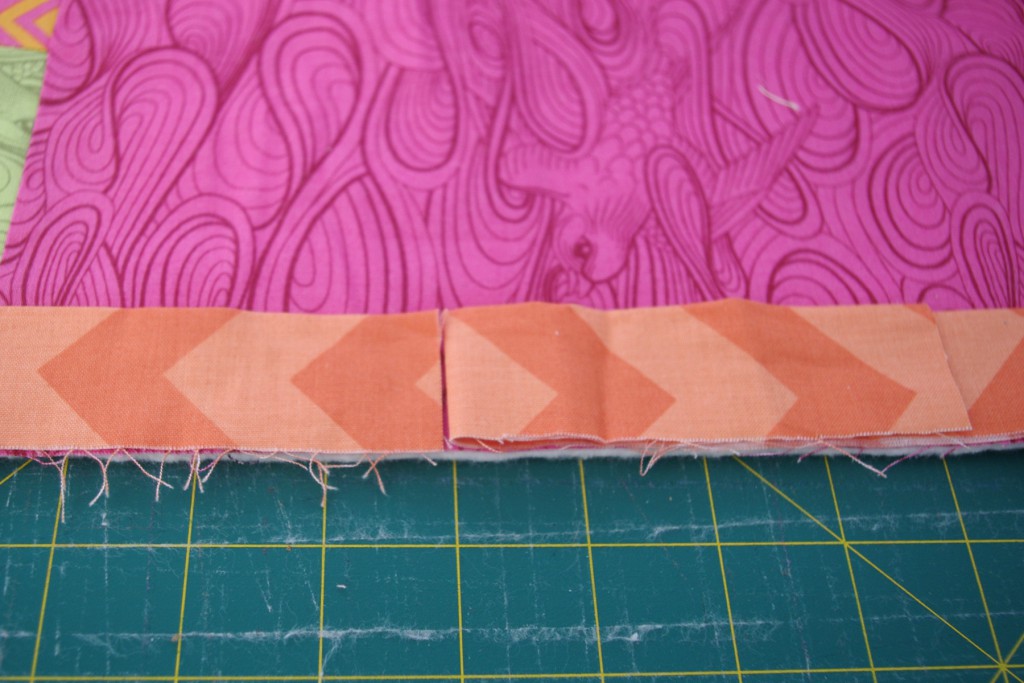
To join your binding with a mitred seam, lay your the left side if the binding flat against the quilt and the right side on top. Fold back the binding and finger press where they meet. Trim the right side of the binding 2 1/2″ (the binding width) from the pressed line. Your ends should now overlap by exactly 2 1/2″.
Step five
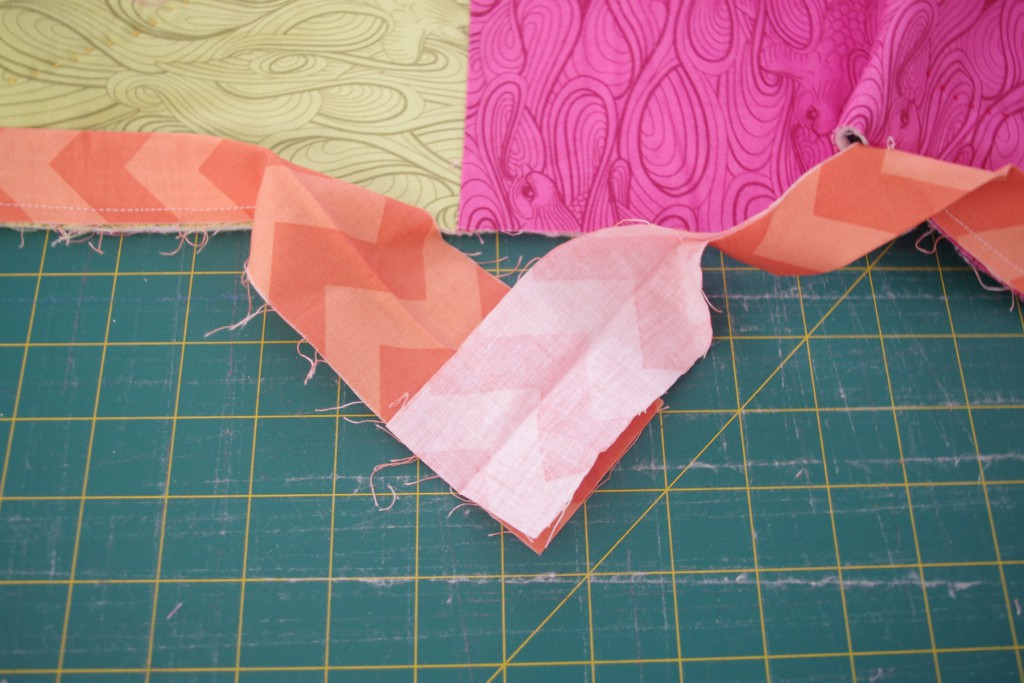
Overlap the ends on a 90 degree angle and sew from corner to corner to create a diagonal seam (less bulk this way, but less suitable for stripes). Before you cut the seam allowance back, check that your binding is the correct length by laying it back against the quilt. If it matches, you are good to go. If not, readjust and check again. Finish attaching the binding by sewing down the remainder of the seam.
Step six
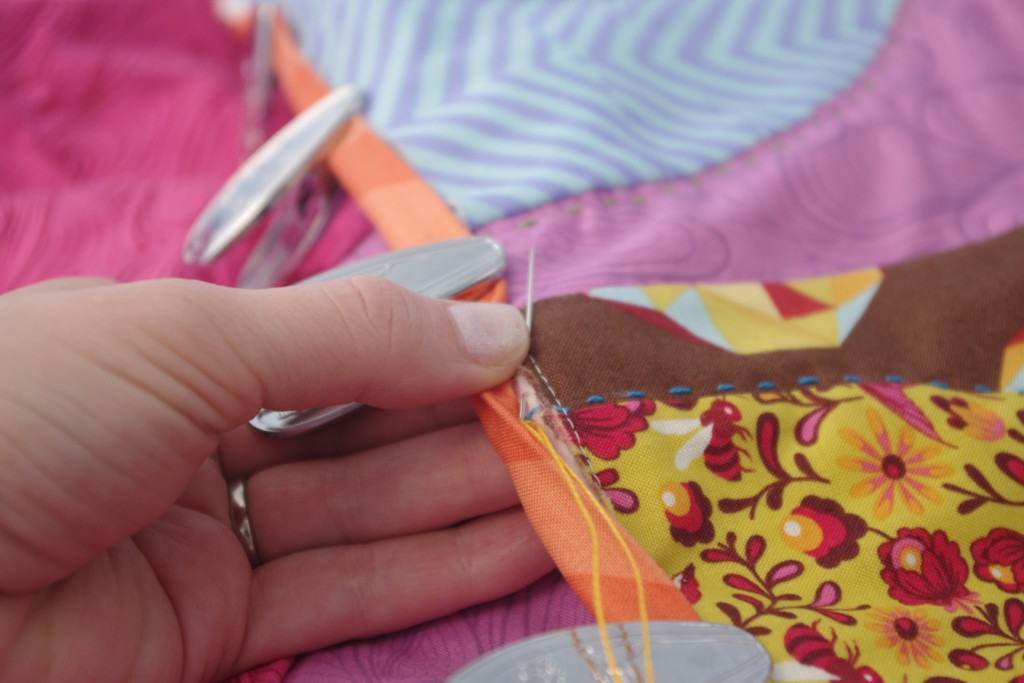
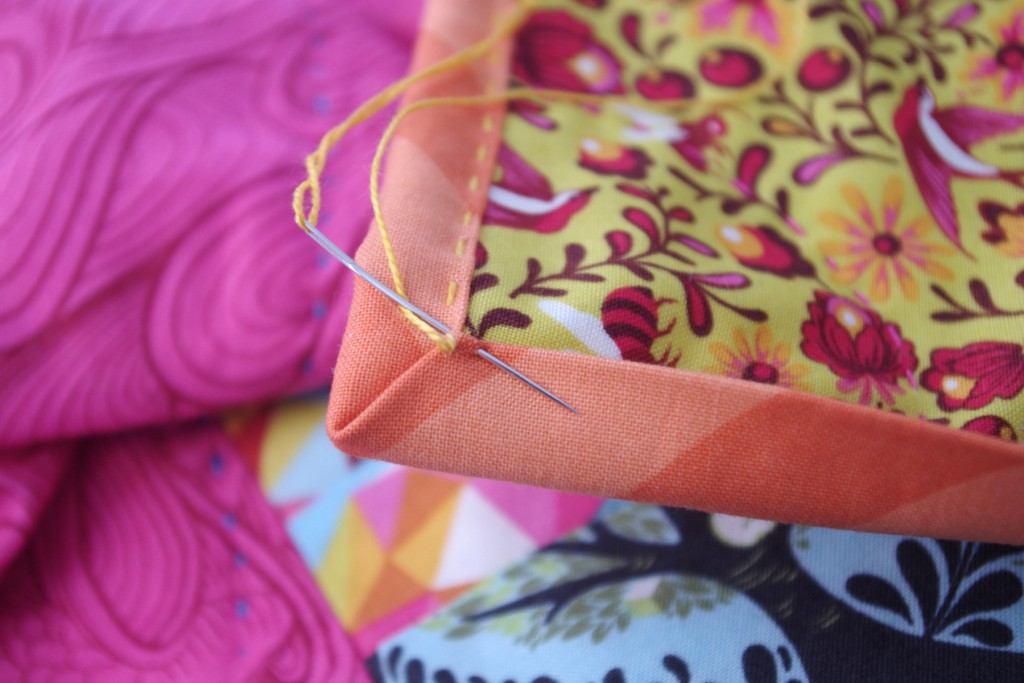
Fold over your binding to the front of the quilt and pop your binding clips on to hold your binding in place. If you don’t have binding clips, you can also use hair clips. I have been known to raid my daughters hair box! Thread your needle with a length of perle 8 thread and tie a knot in the end. Pull your thread to the front of the quilt, burying the knot under the binding. Bring the needle through to the top of the binding and you are ready to go!
Step seven
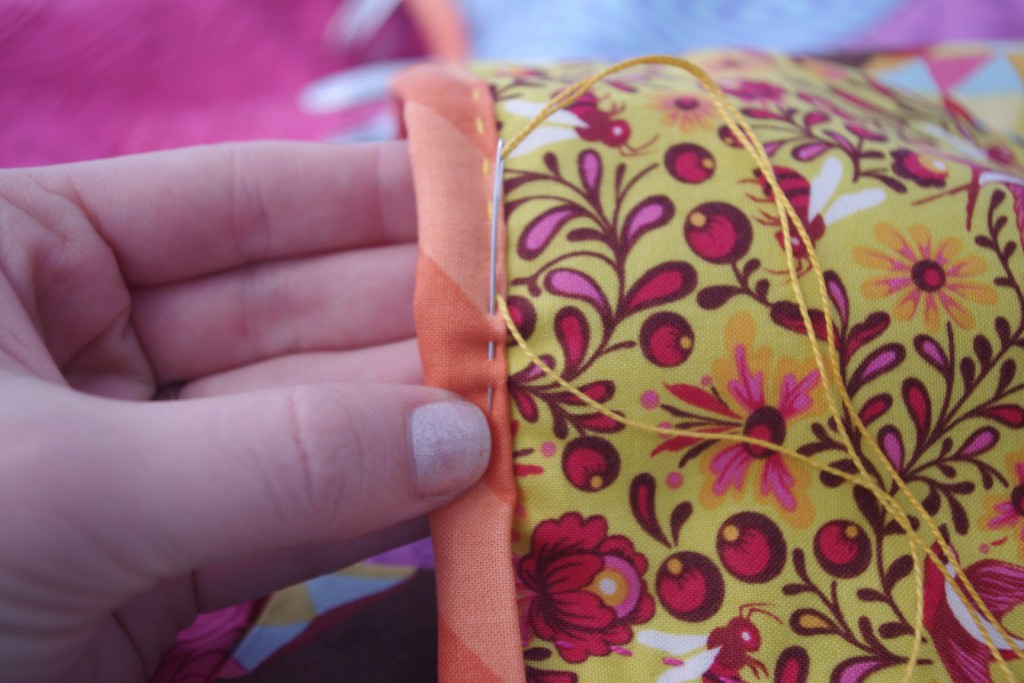
Using a running stitch, take a couple of stitches and pull you needle through. Be careful not to go all the way through, so your stitches can’t be seen on the back of the quilt.
Step eight
Before you get to the corner, clip the corner of batting away to reduce bulk.
Step nine
Once you reach the corner,fold the next side up into place. I like to put a double stitch in the corner for extra strength. Continue on stitching until your thread is almost used. To finish your thread, bury it under under the binding and secure with a small backstitch. Continue stitching your binding on all the way around until you reach the beginning again.
That’s it! I hope you enjoyed this fast and easy hand binding tutorial. If you did, let me know what you think in the comments and you can easily share with your friends or pin it with the social media buttons below.
I love this idea! I just finished a hand quilted quilt and wish you’d posted this a week ago so I could have done the binding by hand too. Next one I guess.
Always the way! I find there is always another quilt just around the corner 😉
This has such a fabulous effect, I will have try it on my next binding. Thanks for the fantastic clear tutorial.
You’re welcome Cassandra! Make sure you show me when you do – use the has tag #perle8binding on IG so we can all have a perve!
looks like a great binding – I’ll definitely try it out !
Oh this is great! I am planning on doing this to a few more quilts. It’s so scrumptious!
Can’t wait to see them 🙂
Love the idea of using a colour as contrast. Nice tutorial
Fantastic idea! I am loving hand quilting with Perle, so this will be a nice touch too.
Love the finished effect have two quilts to finish for two granddaughters will try this
Love this. Can’t wait to try it out on my next quilt.
love love this idea! I do a similar thing when adding my labels! Except I have raw frayed edges. This will complement it beautifully!
Looks beautiful. I like the idea of something simple that is actually meant to be seen and add another layer of interest to the quilt. My question is, where did you get that gorgeous perl cotton? I have trouble finding it in pretty bright colors. For some reason everyone thinks we only want brown or tan. Thanks!
Hi Anna! These threads can be found just about anywhere! I am lucky enough to have a shop down the road that stocks a large range, but try any where that sells embroidery supplies. Also try this easy shop – they sell Portuguese Perle 8 threads, my current favourite (and used in this tutorial) – https://www.etsy.com/au/shop/agulhanaopica?section_id=14197317&ref=shopsection_leftnav_2
just in time! A baby quilt and several lappies are ready to be bound. Definitely giving this a try. Love the look. Thanks for the tutorial!!!
What a pretty way to hand sew a binding! I think I need to stock up on some perle cotton 🙂
[…] Big Techniques From Small Scraps, which is such a great class watch. I finished it off using the fast and easy hand binding tutorial, with my favourite magenta perle thread. And I may just have snuck some hand quilting in there […]
[…] October: It was a quiet sewing month with a whole lot of other things going on, but I did release a very popular tutorial on a fast and easy hand binding. […]
Awesome idea!!! Fast, fresh and beautiful! I can’ t wait to try. Great tutorial!!! Thanks for sharing!!!
Thanks Patty, I am glad you like it! I would love to see your finished quilts that use the technique.
I had given up binding by hand…it took too long. I love your handstitched binding and have used it on about 6 quilts so far. I don’t think I’ll ever bind a quilt another way! Thanks so much for sharing!
Steph! I’m so glad you love the technique. I admit that it is now my favourite when I have the time to hand stitch the binding down.
I’d like to try this, it looks beautiful!! I am a newer quilter and wonder how this hand binding technique stands up to machine washing?
Thanks Michelle! As long as you get the stitches through the layers (the binding and the top of the quilt), it is nice and strong. I would love to see your binding if you use this technique 🙂
[…] out the tutorial for my hand binding tutorial featured in this […]